
OpenClaw & AI Agents Expert
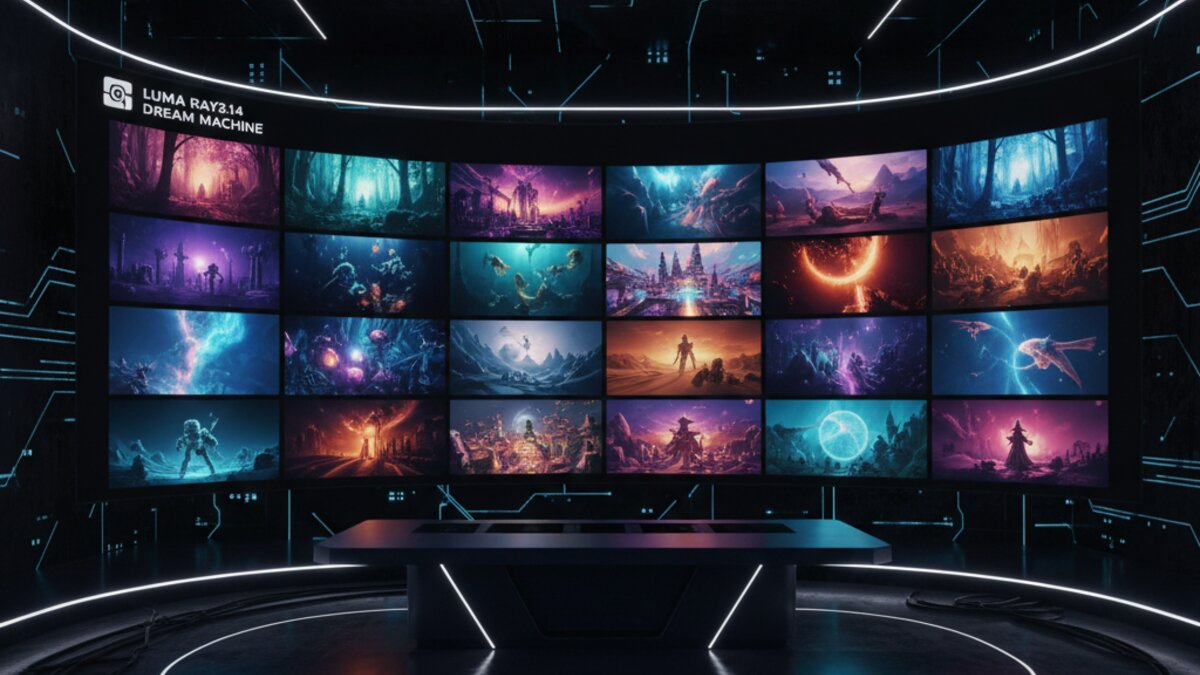
Luma AI quietly shipped one of the most consequential updates in AI video this year: Ray3.14, a faster, cheaper, and more stable successor to the reasoning-driven Ray3 model that launched inside Dream Machine. If you tried Ray3 last year and found it slow or expensive to iterate with, Ray3.14 changes the calculus entirely — native 1080p, four times the speed, and a third of the cost at 720p. This guide walks through what actually changed, how to use the new workflow (Draft Mode plus Hi-Fi mastering), and where Ray3.14 fits against Sora 2, Kling, and Runway in mid-2026.
What Ray3.14 Actually Changes
Ray3 introduced three things nobody else had shipped at the time: chain-of-thought reasoning before generation, a first-to-market HDR pipeline with 16-bit EXR export, and visual annotation — the ability to draw directly on a frame to specify motion and layout instead of fighting a text prompt. Ray3.14 keeps all of that but fixes the part creators complained about most: speed and cost.
The headline numbers from Luma: native 1080p generation across core Dream Machine workflows, 4x faster rendering at 720p compared to the original Ray3, and roughly 3x cheaper per generation. Modify Video — Luma’s video-to-video re-editing tool for wardrobe swaps, relighting, and environment changes — now supports clips up to 18 seconds, up from the previous ceiling. Prompt adherence is noticeably tighter, with fewer of the melting-face and warped-hand artifacts that plagued earlier diffusion video models.
The trade-off: Character Reference (locking a specific character’s identity across a modified clip) and HDR/EXR export inside Modify Video aren’t yet supported on 3.14. If you need those specific features, you’ll want to fall back to the base Ray3 model for that job and switch to 3.14 for everything else.
Draft Mode: The Workflow That Makes This Model Different
The most underrated feature in the Ray3 family isn’t a visual capability — it’s Draft Mode, and it fundamentally changes how you should work. Instead of committing full credits to every generation, Draft Mode renders ideas 5x faster and 5x cheaper, explicitly designed for rapid exploration. The intended loop is:
- Write a rough prompt and generate several drafts to explore composition, motion, and pacing.
- Iterate on the draft that’s closest to your vision, adjusting prompt or annotation each pass.
- Once you land on the shot, run it through Hi-Fi Diffusion to “master” it into production-grade 4K HDR footage.
This two-stage approach mirrors how film editors work with low-res proxies before final render, and it’s a smarter default than the one-shot-and-pray workflow most AI video tools still push. If you’re burning through credits generating full-quality clips just to see if a camera move looks right, switch to Draft Mode first — it will save you real money over a project.
Hands-On: A Practical Ray3.14 Workflow
Here’s a repeatable sequence for a typical shot, whether you’re working in the free Dream Machine tier or a paid plan:
- Start with intent, not just description. Ray3’s reasoning layer responds better to prompts that specify what should happen and why the camera moves that way, e.g., “the camera pulls back slowly to reveal scale” rather than just “wide shot.”
- Use annotation for anything spatial. If you need a character to move to a specific spot in frame, draw the path on the first frame instead of describing it in words. Ray3’s visual annotation reads the sketch more reliably than it parses spatial language.
- Draft in bursts of three. Generate three quick drafts with small prompt variations, pick the strongest, then refine that one specifically before mastering.
- Reserve Modify Video for continuity fixes. Wardrobe swaps, relighting, and environment changes work best as a second pass on an already-good base clip, not as the primary generation method.
- Export EXR only when you need it. The 16-bit HDR/EXR pipeline is genuinely excellent for color grading in a real NLE, but it’s overkill for a social clip destined for compressed delivery on Instagram or TikTok.
Where Ray3.14 Sits Against the Competition
2026’s AI video landscape has consolidated around a handful of serious players. Sora 2 pushed physical accuracy and synchronized dialogue into the mainstream conversation and remains the strongest choice for narrative shorts with speech. Kling continues to lead on raw motion fidelity for action-heavy shots. Runway still wins on integrated editing tools for teams already living in its ecosystem. Ray3.14’s differentiator isn’t raw fidelity — it’s the reasoning-plus-annotation control scheme combined with genuine HDR output, which no other consumer-facing tool has matched yet. If your work eventually lands in a professional color grade or you need precise control over blocking without prompt-engineering gymnastics, Ray3.14 is currently the most practical option in that lane.
For creators piecing together a full production pipeline — scripting, prompt generation, review cycles — it’s increasingly common to route the language and reasoning side of the workflow through a model aggregator like OpenRouter, which lets you switch between LLMs for prompt drafting and shot-list generation without rebuilding your stack every time a new model ships. And if you’re running a repeatable content pipeline — generate draft, review, master, publish — automating the handoffs between Dream Machine, your storage, and your publishing platform with Make.com removes a lot of the manual download-and-upload busywork that eats time on video projects.
Who Should Use It
Ray3.14 is the right tool if you’re producing narrative or advertising-style content that eventually needs to look like it was shot on a real camera under real light, and if you’re working in a pipeline that touches professional color grading. It’s less essential if you only need quick social clips with minimal control — for that, cheaper and simpler tools will get you there faster. But for anyone serious about directing AI video rather than just prompting it, the reasoning-plus-annotation-plus-HDR combination in Ray3.14 is currently one of the more thoughtful implementations on the market, and the speed and cost fixes finally make it practical to iterate the way the model was designed to be used.
Watch It in Action
For a full walkthrough of the Draft Mode to Hi-Fi workflow described above, this tutorial covers the interface end to end:
What to Read Next
- OpenRouter vs OpenAI API for GPT-4o and New 2026 Models: A Developer’s 2026 Comparison
- Best AI Video Tools in July 2026: The Creator’s Guide to DomoAI, Runway, and Beyond
- AI Workflows vs AI Agents in 2026: Why Workflows Win (New 2026 Data Shows 47% Higher ROI)
- How to Secure AI Code Review and Workflow Orchestration in 2026 (Trust, Audit & Prevent Supply Chain Risks)
- Browse all AI Stack Digest articles
Bookmark aistackdigest.com for daily AI tools, reviews, and workflow guides.
This article was produced with the assistance of AI tools and reviewed by the AIStackDigest editorial team.