
OpenClaw & AI Agents Expert
Every few months, one AI video release quietly resets what “control” means in generative filmmaking. This month it’s Luma’s Ray3.2, a model update that trades the usual “type a prompt, hope for the best” workflow for something closer to actual direction. If you’ve been frustrated by AI video clips that nail the first frame and then wander off into incoherence by the third second, Ray3.2 is built specifically to fix that problem — and it does it with a feature set that’s genuinely new to the space: multi-keyframe control across an entire clip, a rebuilt Modify Video pipeline, and native HDR/EXR export for real post-production work.
This isn’t a marginal version bump. It’s a shift in how creators, agencies, and solo operators can plan, shoot, and finish AI-generated footage without treating every clip as a slot machine pull. Here’s what’s actually new, how to use it, and where it fits next to Veo, Kling, and Runway in your toolkit.
The Core Problem Ray3.2 Solves
Most text-to-video and image-to-video models still work the same way under the hood: you give them a starting point (a prompt, maybe a reference image) and an end point, and the model improvises everything in between. That’s fine for a five-second hero shot. It falls apart the moment you need a specific beat — a camera whip at second two, a facial reaction at second four, a costume change mid-clip. You either accept what the model gives you or you generate twenty variations and stitch the best pieces together in an editor, which defeats the point of using AI video in the first place.
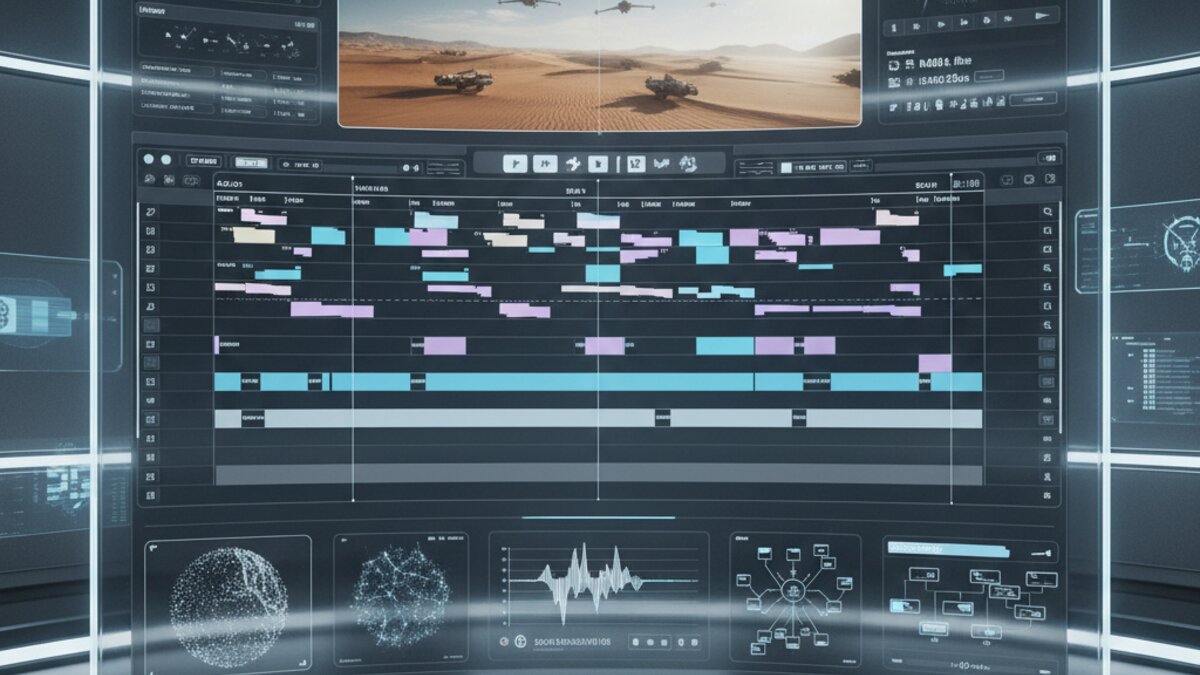
Ray3.2’s headline feature, Multi-Keyframe, addresses this directly. Instead of one start frame and one end frame, you can now place up to 16 individual keyframes inside a single clip. Each keyframe locks in what the shot looks like at that exact moment — composition, pose, lighting, wardrobe — and the model interpolates the motion between them. In practice, this means you can storyboard a 10-second shot the way a director blocks a scene: frame one is the wide establishing shot, frame six is the push-in on the subject’s face, frame twelve is the reaction beat, and the model fills in coherent motion connecting all of them. It’s the difference between hoping the AI understands your story and actually telling it.
Modify Video V2: Reshaping Footage You Already Shot
The second major piece is a rebuilt Modify Video pipeline, which takes existing footage — real or previously AI-generated — and transforms it while preserving the underlying performance. Swap the location, the wardrobe, the lighting, even the season, and the original blocking, camera movement, and facial performance survive the transformation. Luma calls this “shoot once, restyle everywhere,” and the use case is obvious for agencies running the same ad concept across five markets with five different visual treatments.
Under the hood, Modify Video V2 separates two controls that used to be tangled together: Motion (body movement, choreography, camera dynamics) and Structure (the spatial layout and composition of each frame). Tuning these independently lets you decide how much of the original shot’s “shape” survives versus how much creative reinterpretation the model is allowed. It also adds expressive facial performance tracking for up to eight faces in frame and skeletal pose tracking that holds gesture and posture accurately across the whole clip — a notable jump from earlier Ray versions, which tended to lose facial fidelity past a few seconds.
Outputs now go up to 1080p natively, and clip length depends on your source frame rate: up to 20 seconds at 24fps, 15 seconds at 30fps, or 7 seconds at 60fps. Reframe, the aspect-ratio conversion tool, now supports custom subject positioning within the new frame rather than just center-cropping — useful when you’re pulling a 16:9 hero shot into 9:16 for Reels without losing the subject off the left edge.
HDR and EXR: The Production-Pipeline Signal
The most telling detail in this release isn’t a flashy feature — it’s the addition of native 16-bit HDR generation and EXR export in the ACES2065-1 color space. That’s not a consumer-facing spec; it’s a signal aimed squarely at colorists and VFX teams who need AI-generated plates to drop into an existing DaVinci Resolve or Nuke pipeline without a lossy round-trip through 8-bit SDR. If you’re a solo creator this won’t matter much. If you’re producing for broadcast or high-end commercial work, it’s the feature that finally makes AI video plates usable alongside camera-original footage rather than as a separate, visually distinct layer.
Building a Practical Workflow Around It
The keyframe system is powerful but tedious to plan by hand, especially at scale. A workflow worth setting up: draft your shot list and keyframe descriptions as structured prompts using a fast, cheap model through OpenRouter, which lets you route between models depending on whether you need creative brainstorming (a larger reasoning model) or fast batch prompt generation (a cheaper one) without juggling five separate API keys. Once your keyframe prompts are finalized, you can wire the whole pipeline — prompt generation, Ray3.2 API calls, output storage, and client delivery — together with Make.com, which handles the API orchestration and file handoffs without writing custom glue code for every step. For agencies running the same restyle across multiple regional variants, this combination turns a manual, per-clip process into something closer to a batch job.
Where Ray3.2 Fits Among the Alternatives
Veo 3.1 still leads on native audio generation baked into the output, and Kling continues to win raw photorealism benchmarks in head-to-head community tests. Runway remains the strongest for editors who want AI generation living inside a familiar NLE via its Premiere plugin. Ray3.2’s differentiator is granular narrative control combined with a production-grade export pipeline — it’s the model built for people who need to direct a shot, not just describe one, and then hand the result to a colorist rather than a social media scheduler.
If your work involves any of the following — multi-beat storytelling in a single clip, restyling existing footage across markets, or delivering color-graded plates into a professional pipeline — Ray3.2 is worth testing this week. For quick social clips where a single prompt-to-video pass is good enough, the simpler tools you’re already using will still get the job done faster.
Watch: Ray3.2 in Action
AI video tooling is moving fast enough that “state of the art” has a shelf life measured in weeks, not quarters. The models worth watching right now are the ones adding actual directorial control — not just better pixels, but better ways to tell the model what you actually mean.
This article was produced with the assistance of AI tools and reviewed by the AIStackDigest editorial team.