
AI Automation & Self-Hosting Specialist
How to Run Stable Diffusion on a VPS: Your Guide to Affordable AI Art
The world of AI-generated art has exploded, with tools like Stable Diffusion leading the charge. While powerful, running these models locally often demands significant GPU resources that many enthusiasts don’t possess. The solution? A Virtual Private Server (VPS). This guide will walk you through setting up Stable Diffusion on a VPS, making cutting-edge AI art accessible to everyone, even on a budget.
Why choose a VPS for Stable Diffusion? Simple: cost-effectiveness, scalability, and dedicated resources. Instead of investing thousands in a high-end GPU, you can rent a powerful server by the month or even hour. This is especially beneficial for those who want to experiment, learn, or run occasional batches of AI art without a massive upfront commitment.
Why a VPS is Ideal for Stable Diffusion

Running Stable Diffusion, especially with larger models or complex workflows, is resource-intensive. It primarily relies on GPU power for image generation, but also benefits from ample RAM and fast storage for loading models and processing tasks.
- Dedicated Resources: Unlike shared hosting, a VPS gives you dedicated CPU, RAM, and storage, ensuring consistent performance.
- Cost-Effective: Renting a server is far cheaper than buying comparable hardware, especially for powerful GPUs.
- Scalability: Need more power for a big project? You can often upgrade your VPS resources with minimal downtime.
- Remote Access: Generate art from anywhere, on any device, without tying up your local machine.
- Experimentation: A VPS provides a clean, isolated environment to experiment with different Stable Diffusion versions, custom models, and extensions without cluttering your main system.
When it comes to value and performance for AI workloads, we consistently recommend Contabo. Their competitive pricing, especially for VPS plans with substantial RAM and fast NVMe storage, makes them an excellent choice for Stable Diffusion enthusiasts.
Choosing the Right VPS for Stable Diffusion

The most critical component for Stable Diffusion is the GPU. However, many budget VPS providers don’t offer direct GPU access in their standard VPS plans. This guide focuses on CPU-only Stable Diffusion, which is slower but perfectly viable for learning and non-time-critical generation, or on VPS options that offer virtualized GPU capabilities or are optimized for compute.
Key VPS Specifications to Look For:
- RAM: Stable Diffusion models can be large. Aim for at least 16GB RAM for basic usage, and 32GB or more for larger models or advanced workflows.
- CPU Cores: While GPU is king, a decent CPU (4+ cores) helps with model loading, pre- and post-processing, and general system responsiveness.
- Storage: Fast NVMe SSDs are crucial for quick model loading and checkpoint saving. You’ll need at least 100GB of storage for models and outputs, preferably more.
- Operating System: Linux (Ubuntu, Debian) is preferred for its command-line tools, Python environment, and overall stability for server applications.
Recommended Contabo VPS Plans for Stable Diffusion:
While dedicated GPU servers offer the best performance, they come at a premium. For budget-conscious users, Contabo’s higher-tier Cloud VPS plans provide an excellent balance of CPU, RAM, and NVMe storage that can handle Stable Diffusion (especially CPU-only versions or those utilizing CPU optimizations).
| Feature | Contabo Cloud VPS S | Contabo Cloud VPS M | Contabo Cloud VPS L | Contabo Cloud VPS XL |
|---|---|---|---|---|
| vCPU Cores | 4 Cores | 6 Cores | 8 Cores | 10 Cores |
| RAM | 8 GB | 16 GB | 30 GB | 60 GB |
| NVMe SSD | 50 GB | 100 GB | 200 GB | 400 GB |
| Best For | Light experimentation (CPU only) | Good starting point (CPU only, smaller models) | Recommended for most users (CPU only, larger models) | Advanced CPU usage, faster generation |
| Link | View Contabo VPS Plans | |||
For more demanding AI tasks or when you absolutely need GPU acceleration, Contabo also offers dedicated servers with powerful CPUs and optional GPUs, which are ideal for production AI workloads. However, for getting started with Stable Diffusion on a budget VPS, the Cloud VPS L or XL are excellent choices.
Setting Up Your VPS: A Step-by-Step Guide

This guide assumes you’ve provisioned a Linux VPS (Ubuntu 22.04 LTS is highly recommended).
Step 1: Connect to Your VPS
Use SSH to connect to your server. Replace your_username and your_vps_ip with your actual details.
ssh your_username@your_vps_ipStep 2: Update Your System
Always start by updating your package lists and upgrading existing packages:
sudo apt update && sudo apt upgrade -yStep 3: Install Essential Dependencies
Stable Diffusion and its associated tools require Python, Git, and other build essentials.
sudo apt install -y python3 python3-pip python3-venv git build-essentialStep 4: Install Stable Diffusion WebUI (Automatic1111)
The Automatic1111 WebUI is the most popular and user-friendly interface for Stable Diffusion. We’ll clone its repository and let it handle most of the setup.
First, navigate to your desired installation directory (e.g., your home directory):
cd ~Clone the WebUI repository:
git clone https://github.com/AUTOMATIC1111/stable-diffusion-webui.gitNavigate into the directory:
cd stable-diffusion-webuiStep 5: Download a Stable Diffusion Model
You’ll need at least one Stable Diffusion checkpoint model. For this guide, we’ll use a base Stable Diffusion model. Hugging Face is a great source for models.
Create a directory for models and download a suitable one. For example, SD 1.5:
mkdir -p models/Stable-diffusion
wget -O models/Stable-diffusion/v1-5-pruned-emaonly.safetensors https://huggingface.co/runwayml/stable-diffusion-v1-5/resolve/main/v1-5-pruned-emaonly.safetensors
Alternatively, you can download models from Civitai or other sources locally and upload them via SFTP to the stable-diffusion-webui/models/Stable-diffusion directory.
Step 6: Configure and Run the WebUI
To make the WebUI accessible from your browser, you need to run it with specific arguments:
python3 launch.py --listen --enable-insecure-extension-access --xformers--listen: Makes the WebUI accessible from any IP address (your VPS IP).--enable-insecure-extension-access: Allows extensions to be installed (useful for advanced features).--xformers: (Optional, but recommended if your VPS has GPU support or compatible CPU extensions) Provides memory-efficient attention, speeding up generation. Without a compatible GPU, this might not provide benefits or could cause issues; you can remove it if you encounter errors.- For CPU-only generation: If you find generation too slow, consider adding
--use-cpu SDor exploring optimizations like Diffusers library with CPU fallbacks. For pure CPU, you might need to install additional CPU-optimized libraries like PyTorch with MKL.
The first run will take some time as it downloads and installs all Python dependencies. Once it’s done, you’ll see a message like:
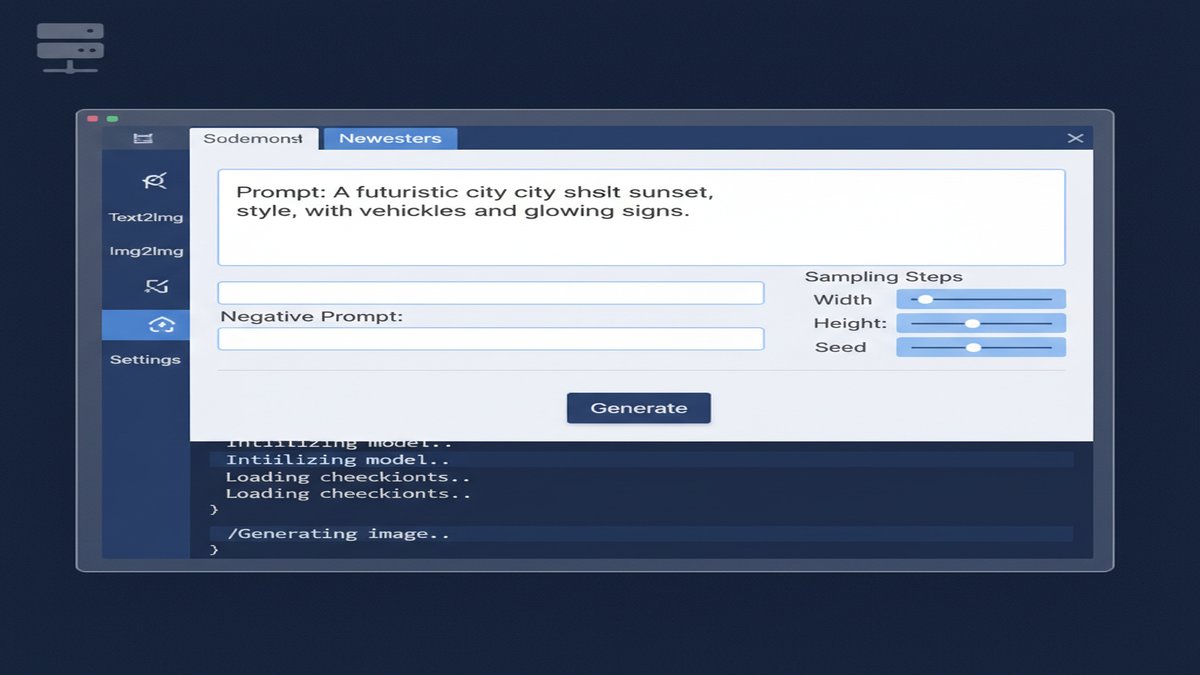
Running on local URL: http://0.0.0.0:7860Now, open your web browser and navigate to http://YOUR_VPS_IP:7860 (replace YOUR_VPS_IP with your server’s IP address). You should see the Stable Diffusion WebUI!
Step 7: Keep WebUI Running (Optional, but Recommended)
To keep the WebUI running even after you close your SSH session, use tmux or screen.
Install Tmux:
sudo apt install -y tmuxStart a new Tmux session:
tmux new -s sd_sessionInside the Tmux session, navigate to the stable-diffusion-webui directory and run the WebUI as in Step 6.
cd ~/stable-diffusion-webui
python3 launch.py --listen --enable-insecure-extension-access --xformers
You can then detach from the Tmux session by pressing Ctrl+B, then D. To reattach later, use tmux attach -t sd_session.
Optimizing Performance on a VPS
- CPU-only Fallback: If your VPS lacks a dedicated GPU, Stable Diffusion will often fall back to CPU. This is significantly slower but still functional. Look into CPU-optimized Stable Diffusion implementations or libraries like Diffusers with CPU offloading.
- Smaller Models: Use smaller, pruned models (e.g.,
v1-5-pruned-emaonly.safetensors) which require less VRAM/RAM and generate faster. - Lower Resolutions: Start with lower image resolutions (e.g., 512×512) and then use upscaling techniques.
- Batch Size: Generate one image at a time initially. Larger batch sizes consume more resources.
- Image Generation Steps: Keep sampling steps lower (e.g., 20-30) for quicker results, increasing only when more detail is needed.
- Consider a Dedicated Server: If you find your VPS struggling and you need faster generation, upgrading to a Contabo Cloud VPS 60 or even a dedicated server with a GPU might be your next step for serious AI art creation.
Conclusion
Running Stable Diffusion on a VPS opens up a world of creative possibilities without the need for expensive local hardware. With a robust provider like Contabo, you can access powerful virtual machines that can handle the demands of AI art generation, allowing you to experiment, learn, and create stunning images from anywhere. Follow this guide, and you’ll be generating your own AI masterpieces in no time!
This article was produced with the assistance of AI tools and reviewed by the AIStackDigest editorial team.